This blog provides a step-by-step guide on how to generate a Purchase Order (PO) or a range of POs, based on the Bill-of-Materials (BoM) needs/demand and current in-stock levels. Use this functionality, if you’re planning on making/manufacturing something to a particular quantity and want to know if you’ve enough stock-in-hand to support the build process (demand). Supplement this demand requirement by letting EdgeSTOCK tell you where you’re short of certain stock items and, at a click of a button, generate PO(s) to order those short stock item(s).
- Login to EdgeSuite and make sure the home dashboard is visible
- From the menu, select: Stock > Products & Inventory

- From the Product & Inventory dashboard, search for the product you wish/plan to make (it must be an Assembly product type with a completed BoM) and select View from the Actions

- From the Product’s screen, choose Make > Demand tabs; type in the Quantity to Make and click [Show Shorts] to view the components you are short of to make the required quantity (ignoring the already assembled available quantities in stock)
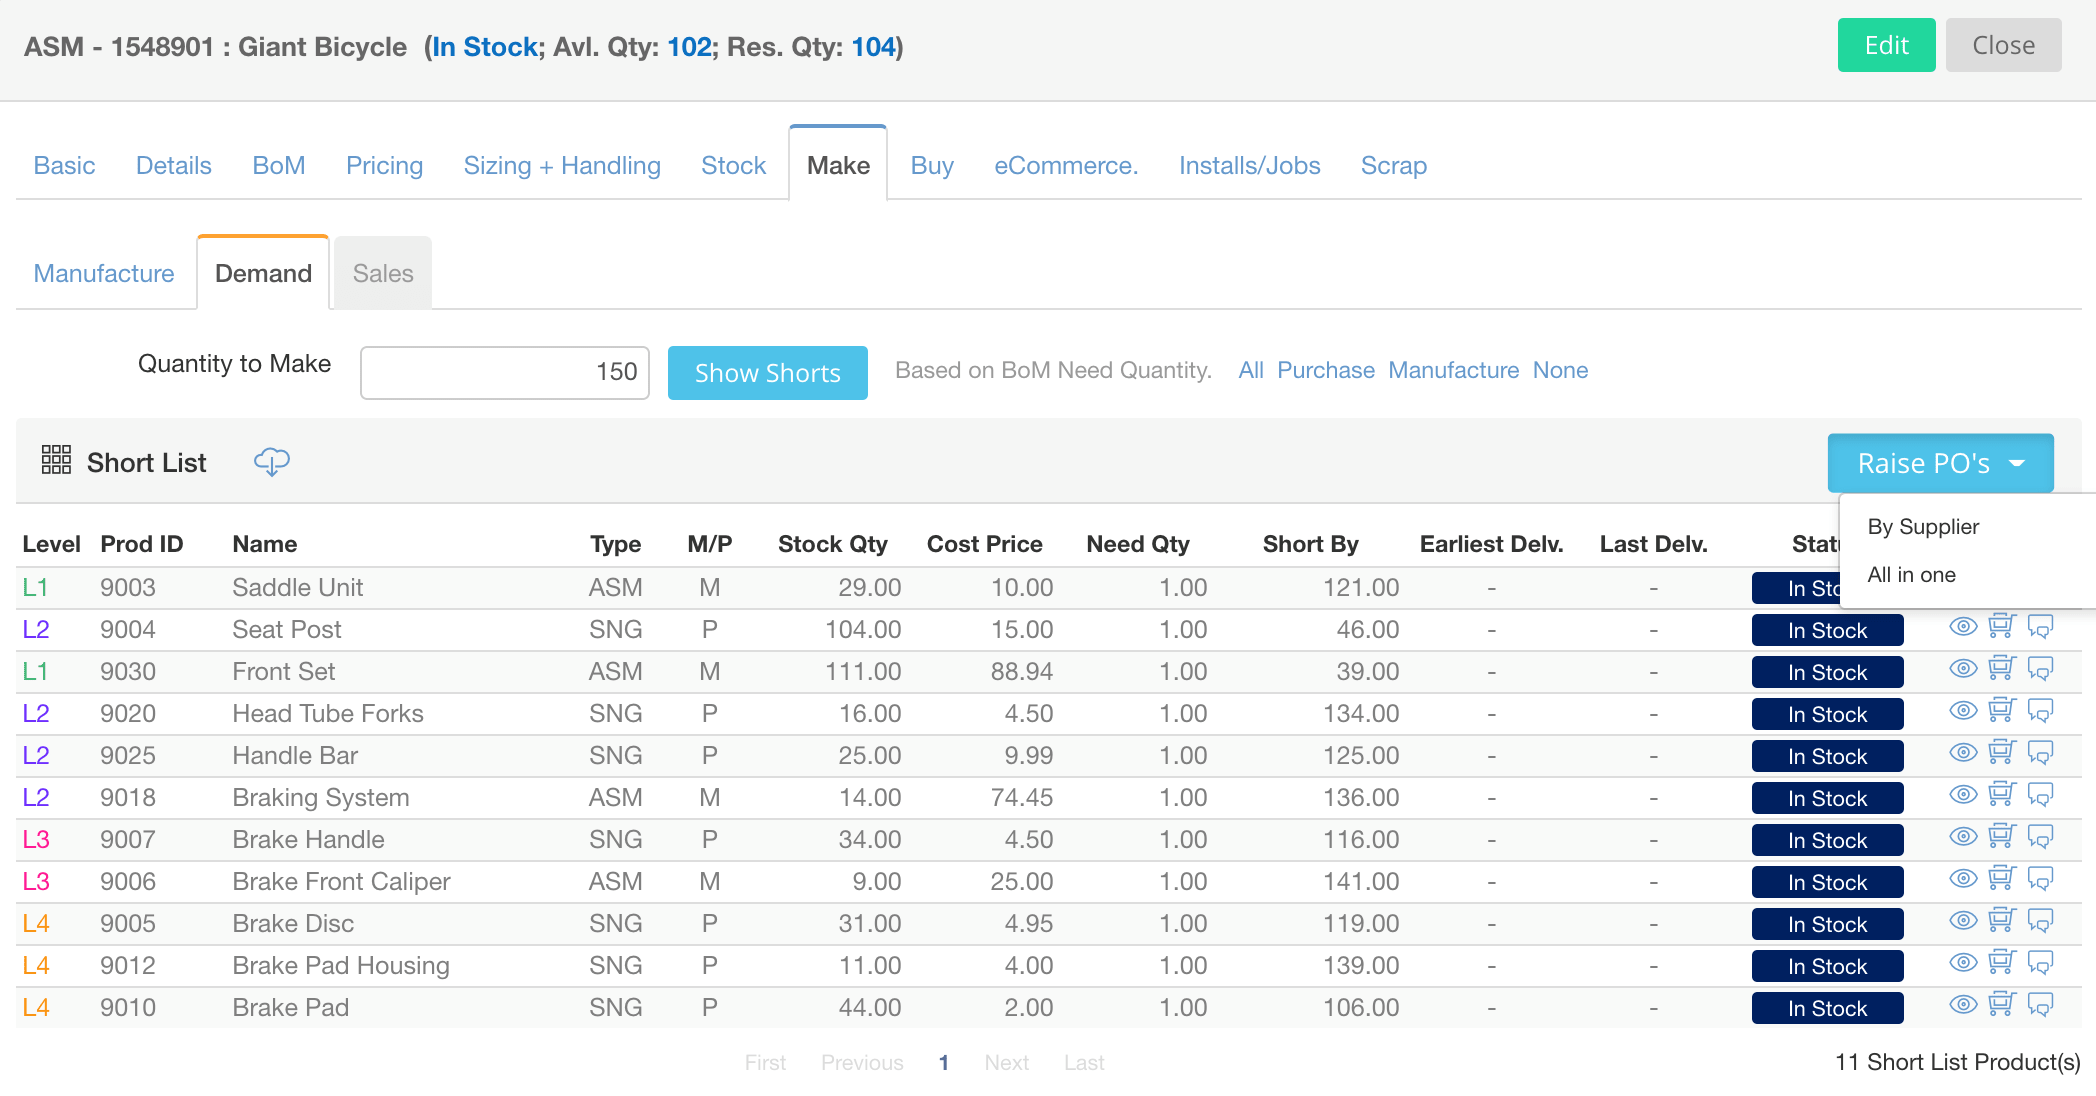
- To generate Purchase Order(s) for the component(s) listed in the Short List, click the [Raise PO’s] button and choose either:
- By Supplier – which will generate separate POs per supplier, grouping product(s) to by lead supplier
- All in One – which puts all the components onto one PO, and you can choose the relevant supplier
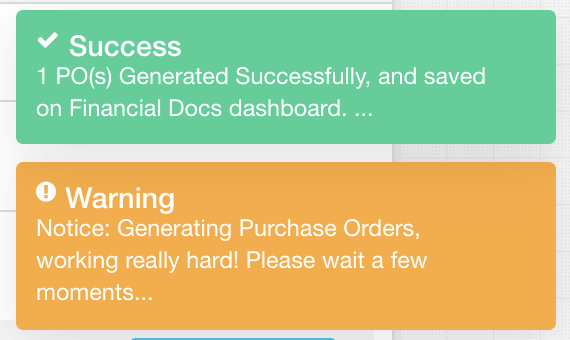
- In either case, the POs are created and saved on the Financial Documents dashboard. From the main menu, choose Docs-n-Certs > Financial Documents to show the dashboard, where the Purchase Order(s) are saved as draft
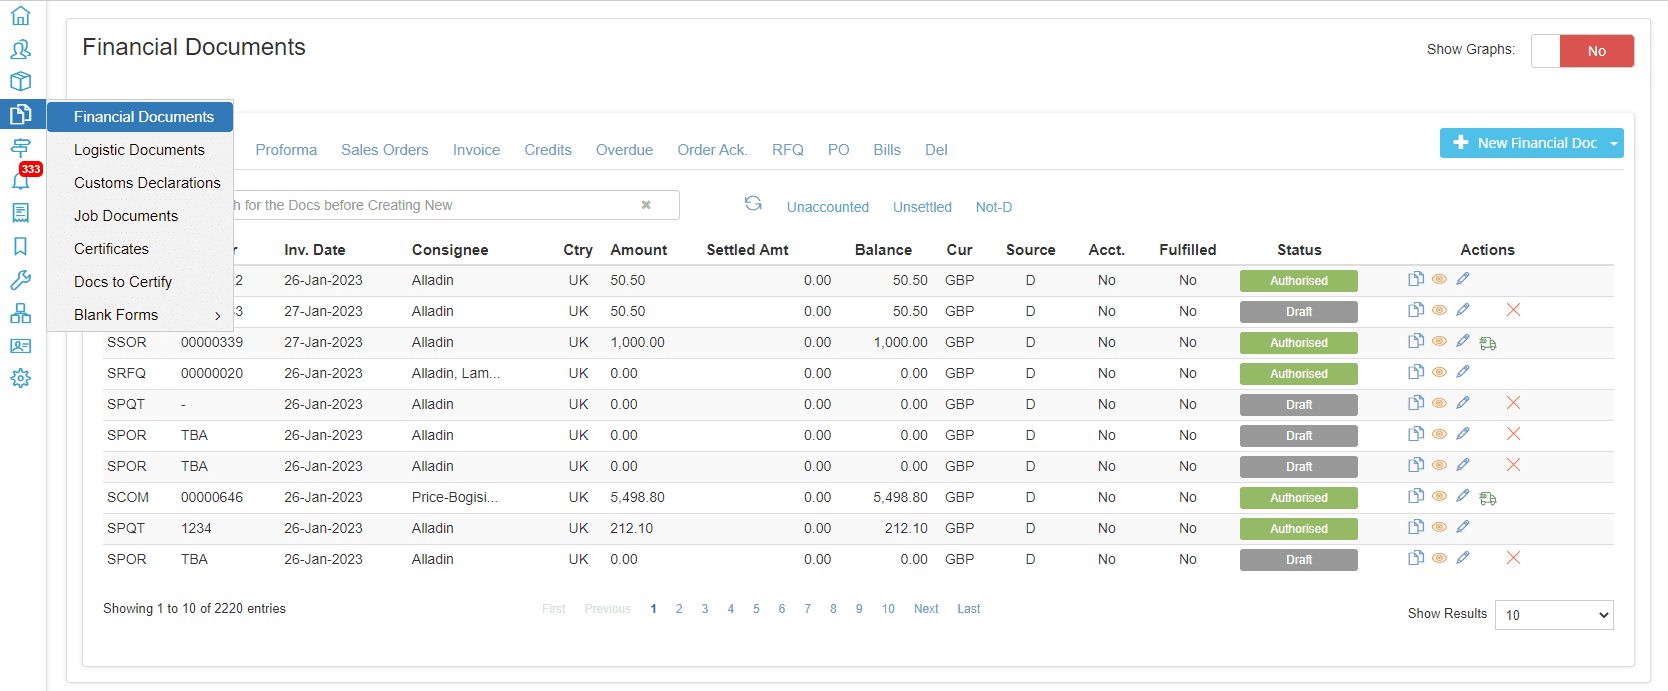
- Choose the Edit Action (pencil icon) to open the draft Purchase Order you want to process
- Fill in the mandatory (red asterisk marked) fields as a minimum. Please note that in many cases the Units in Pack are required for each product/component listed. When you’re completed with filling-in the PO, then click [Save & Authorise]; and any comments and click [Save]
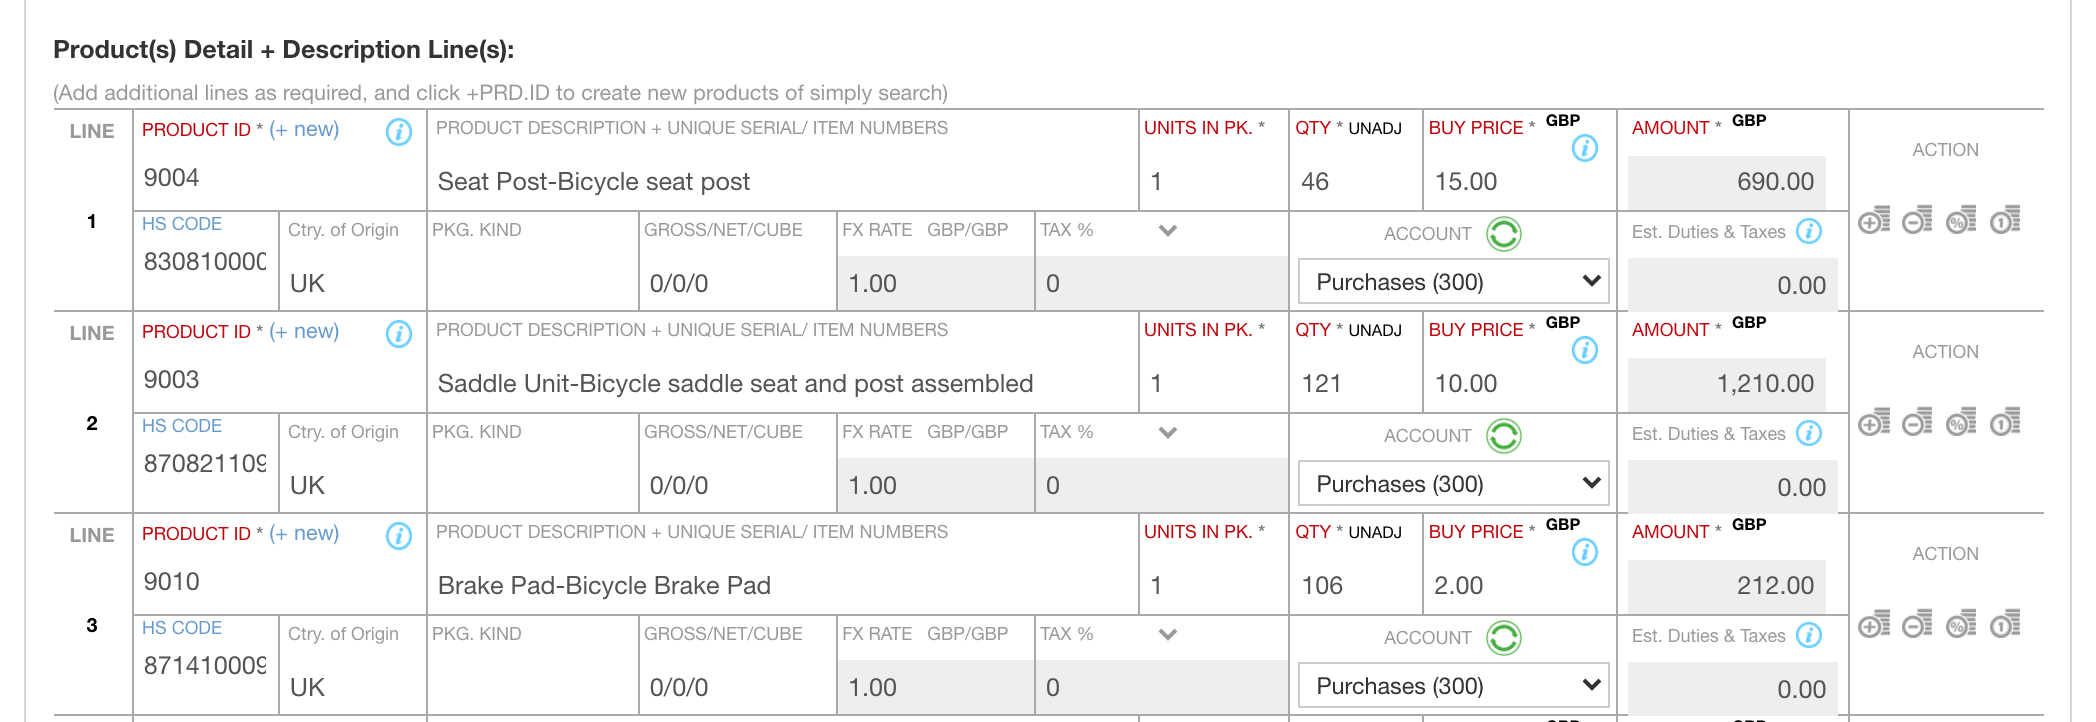
- The PO reappears with a status of “Authorised”. You can now process the PO as usual using the action buttons on its header bar. The usual next step is [Send] the PO to the Supplier
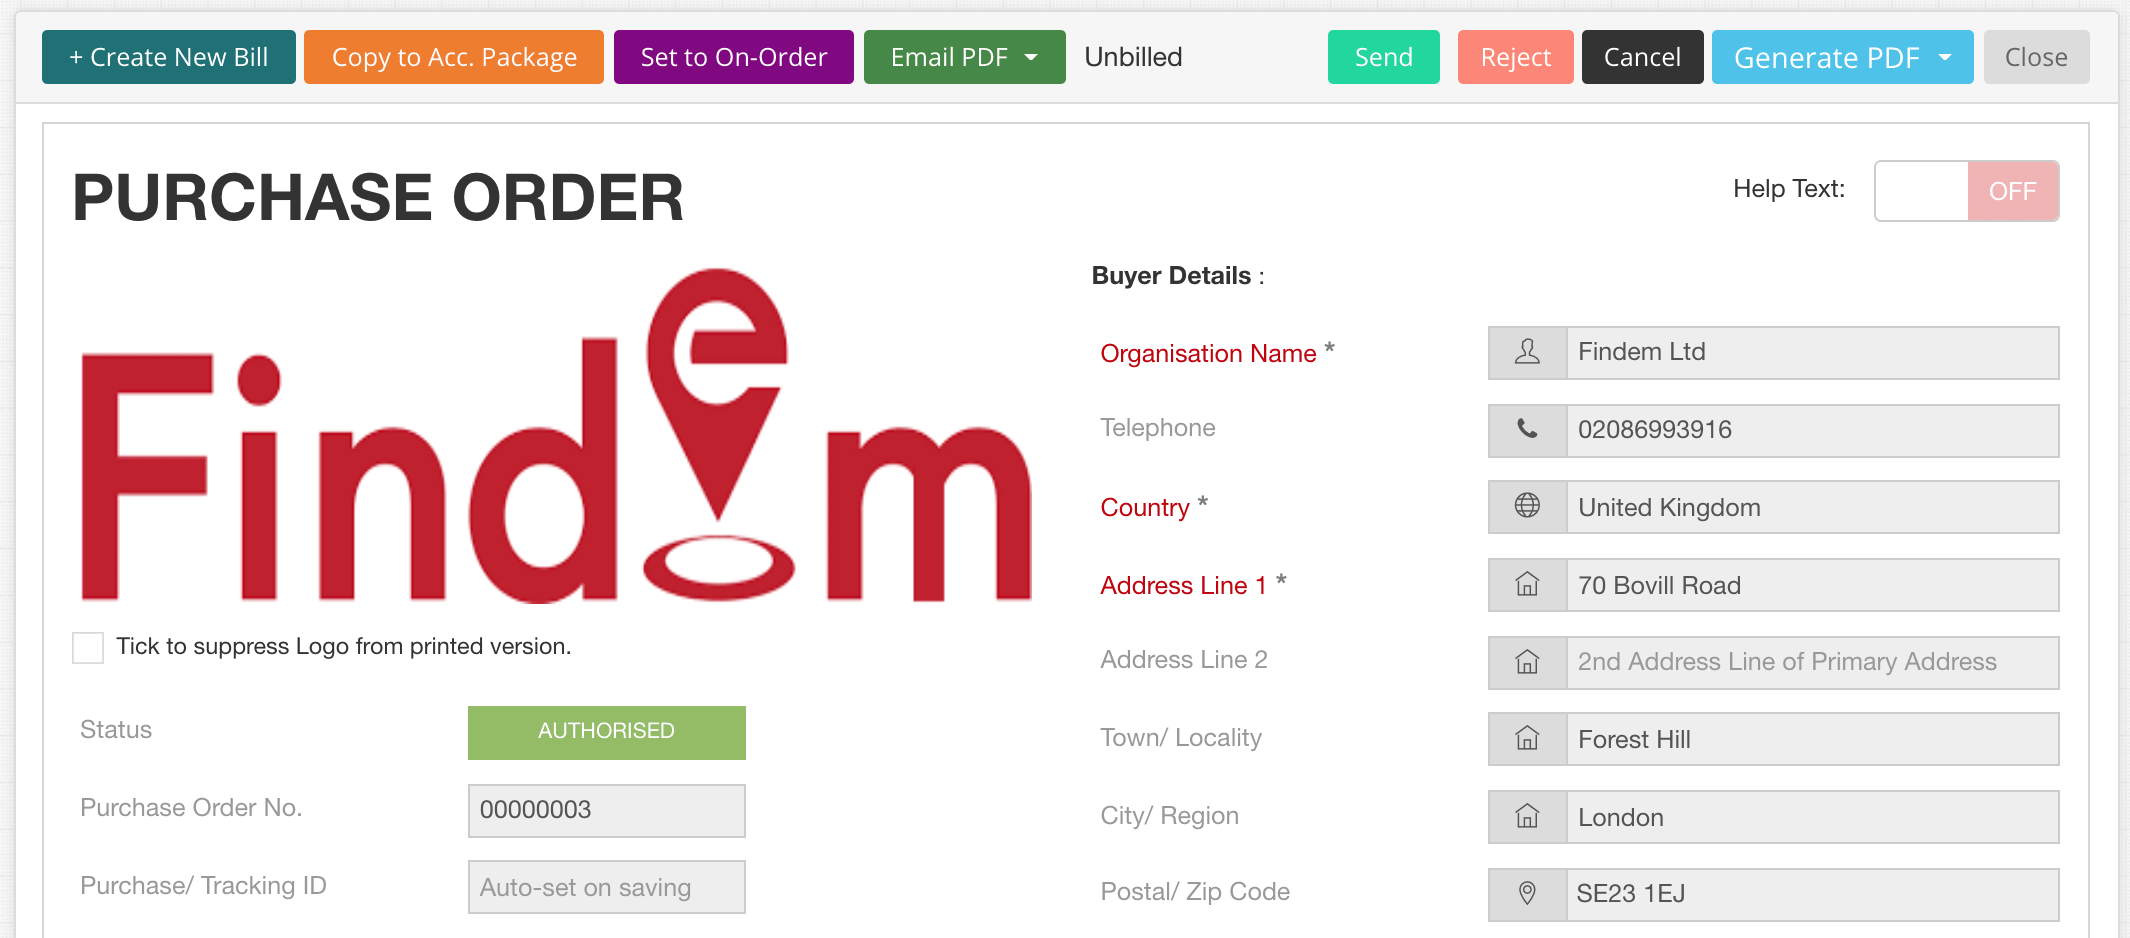
- Here is a summary of the PO processing actions you can perform:
- [+Create New Bill] – use this if you want to create a “purchase invoice (bill)” related to this PO. Please note you will need permission from the Supplier to ‘self-invoice’ like this
- [Copy to Acc. Package] – use this to copy this PO to your connected accounting package, which saves you rekeying
- [Set to On-Order] – use this if the PO has been sent/communicated to the Supplier and the goods are on their way to you
- [Email PDF] – provides various PO layout format choices to email as a PDF to whoever needs the PO
- [Send] – use to initially send the PO to the Supplier stated on the PO
- [Reject] – use only if you want to reject the authorised PO because you’ve spotted an issue with the PO and wish to correct it before sending
- [Cancel] – use only if you wish to cancel the PO
- [Generate PDF] provides various PO layout format choices to download as a PDF to your local device (i.e. for printing onto paper copy)
Leave a Reply